How To Stitch A Wound
Stitching a wound is a very important first step in treating any injury. It is not always necessary to stitch a wound, but when it is needed, it can help promote healing and reduce scarring. When done properly, the wound can be stitched closed quickly with minimal pain. Here are the general steps for how to stitch a wound:
Wash Your Hands and Supplies
The first and most important step is to wash your hands with soap and water. This is to reduce the chance of infection. Also, be sure to gather any needed supplies, including antiseptic wipes, clean gauze, sterile needles, sterile thread, curved scissors and disposable gloves.
Clean the Wound
Using an antiseptic wipe, carefully clean the wound area. This will help reduce the chance of infection. After the wound is cleansed, apply a thin layer of antibiotic ointment to the wound.
Begin Stitching
Using the sterile needle and thread, start stitching the wound in a vertical row. Use even, small stitches that start at one end of the wound and go to the other. Continue stitching until the wound is completely closed.
Tie Off Stitches
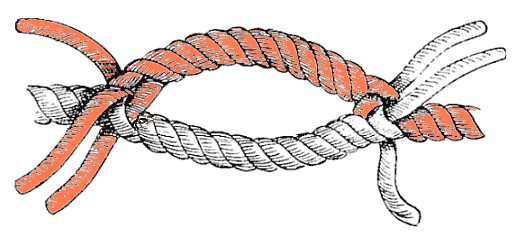
Once the wound is closed, use the curved scissors to cut the thread. Leave enough thread to tie off the stitches and secure them before trimming the thread. Then, tie the threads off with a surgeon’s knot.
Apply Pressure and Change Dressings
Gently press a clean gauze pad against the wound and secure it with medical tape. Have the patient keep the dressing on for a few days, changing if it gets wet or dirty. Once the wound is healed, any remaining stitches can be removed.
Seek Professional Help
Although some minor wounds can be stitched at home, serious wounds or open wounds should be treated by a medical professional. If you are unsure how to stitch a wound or think the injury is too serious, contact a doctor immediately.


